
Hello everyone!
Martha here with you.
Today I have a simple gift bag to share with you that I dressed up using some awesome LDRS Creative stamps, dies, stencils and patterned papers!
LDRS Products

I started by stamping the largest beautiful blooms stamp with watermark ink on black cardstock and then heat embossed it with white embossing powder.

Than I colored it with coloured pencils, I went over the whole image with the white coloured pencil before adding any of my other colors, this just helps them to appear brighter on the black cardstock.

After the colouring was finished I mounted the panel onto red cardstock, and then onto my patterned paper, I also added the christmas word die onto a hand cut kraft cardstock banner, and popped it up below my coloured panel.
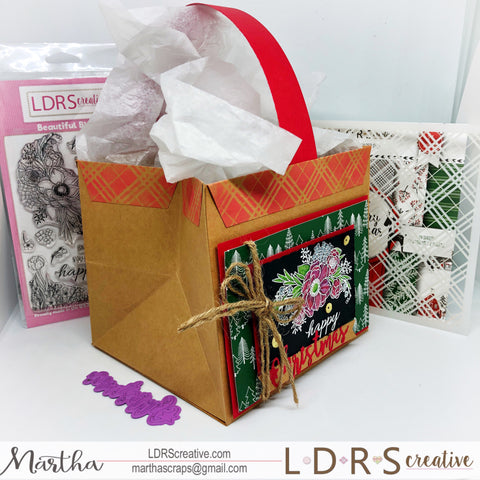
My final step was to stencil the flaps of the gift bag with red ink using the plaid stencil.
I hope this inspired you to alter simple things and make them wow with LDRS Creative products.
Hugs
Martha


No comments:
Post a Comment